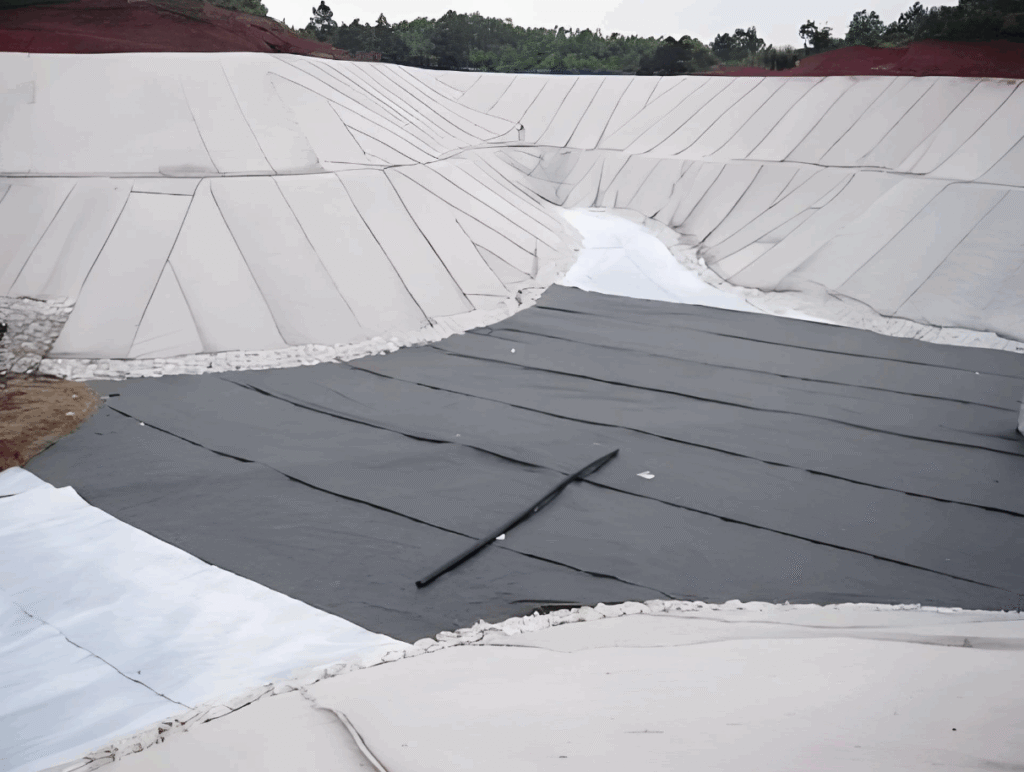
The root cause of many driveway problems lies not in the surface materials, but in the unstable subgrade soil beneath. When vehicles roll back and forth, or when exposed to cycles of rain, snow, freezing, and thawing, the soil undergoes lateral movement and settlement, leading to the failure of the upper structure. However, driveway geogrids can solve this problem for you. This article will comprehensively explain how to select and install driveway geogrids.
Why Does Your Driveway Need a Geogrid?
Investing in a geogrid is like buying a “long-term insurance policy” for your driveway. Its core benefits directly address the pain points you may face:
- Preventing settlement and uneven subsidence: Through the “snowshoe effect” and “reinforcement effect”, it fundamentally stabilizes the subgrade, ensuring the driveway surface remains flat for a long time.
- Reducing cracks and ruts: The strong grid structure effectively inhibits the lateral displacement of base materials, thereby avoiding reflective cracks and permanent ruts on the asphalt or gravel surface caused by base deformation.
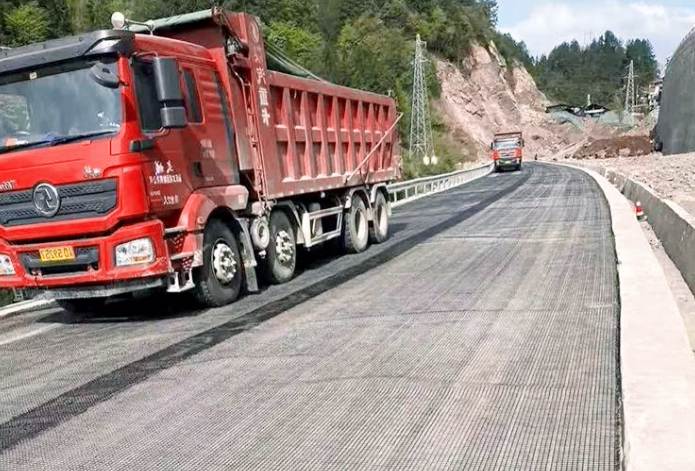
- Significantly improving load-bearing capacity: This is crucial for families that frequently park RVs, heavy trucks, construction machinery, or have heavy vehicle traffic. Geogrids enable your driveway to easily bear huge weights.
In terms of long-term value, it also:
- Extends driveway lifespan by 2-3 times: A solid and stable foundation means surface materials do not require frequent repairs or repaving.
- Reduces long-term maintenance costs: Although the initial investment is slightly higher, it avoids the huge expenses of repeated repairs and complete overhauls in the future, making it a typical case of “spending a little to save a lot”.
- Conquers harsh soil conditions: Geogrids are the key to success in soft clay, sandy soil, backfill soil, high water tables, or other sites traditionally unsuitable for direct driveway construction.
If you are purchasing a Geogrid Driveway, you can contact us!

How to Choose the Right Driveway Geogrid?
Not all geogrids are suitable for driveway projects, so making the right choice is crucial.
Main Types:
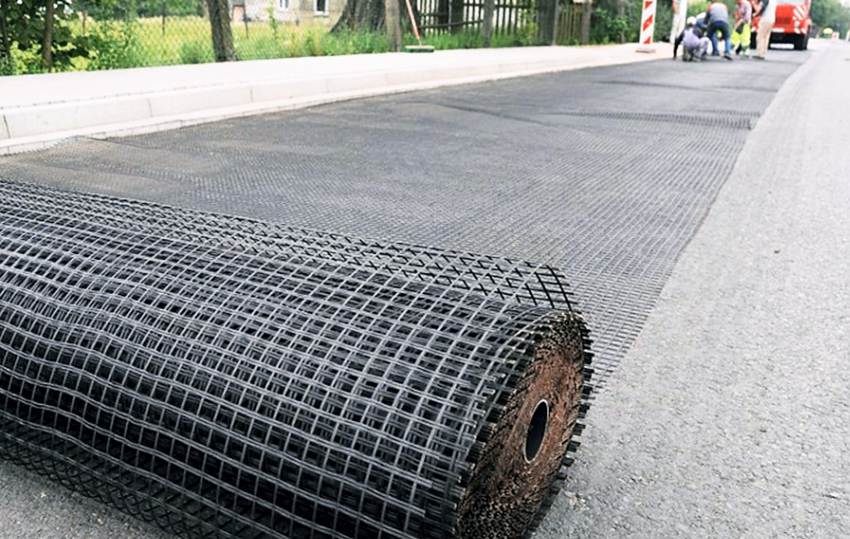
- Biaxial geogrids: They have high tensile strength in both longitudinal and transverse directions, forming a stable grid. Suitable for most standard residential driveways, they effectively prevent base aggregates from penetrating soft soil and provide good load distribution.
- Triaxial geogrids: This is a more advanced type with a triangular structure, offering higher stiffness and stability in multiple directions. It is particularly suitable for projects with extremely harsh soil conditions, heavy loads, or high long-term performance requirements.
| Type | Best Use Cases | Advantages |
|---|---|---|
| Biaxial Geogrid | Standard residential driveways, gravel/asphalt driveways, fair soil conditions. | Cost-effective, balanced performance, widely available. |
| Triaxial Geogrid | Heavy-duty driveways, very soft subgrades, commercial parking areas. | Excellent stability, superior long-term performance, high creep resistance. |
Key Selection Factors:
- Material and durability: Ensure the product has excellent resistance to chemical corrosion and ultraviolet rays.
- Tensile strength: Choose the appropriate strength specification based on your soil conditions and load requirements. When consulting suppliers, you can proactively mention well-known brands such as Tensar as references, as they are industry benchmarks.
Geogrid Driveway Installation Guide
Step 1: Preparation and Materials
- Required Tools and Materials:
- Geogrid (choose biaxial or triaxial based on design)
- Base aggregates (typically crushed stone with particle size meeting design requirements)
- Surface materials (gravel, asphalt, paving bricks, etc.)
- Excavator or manual digging tools
- Grader or rake
- Vibratory compactor (plate compactor or roller compactor)
- U-shaped pins/stakes (or steel bars)
- Tape measure, chalk, or marking flags
- Personal protective equipment (gloves, safety shoes, etc.)
- Site Survey and Design:
- Define driveway boundaries and mark them with stakes and ropes.
- Determine the final driveway slope to ensure smooth drainage.
- Calculate the excavation depth, ensuring sufficient space for the total thickness of “base aggregates + geogrid + surface layer.”
Step 2: Site Preparation and Excavation
Clearing and Digging:
- Remove all surface vegetation, turf, tree roots, and organic matter.
- Excavate according to the designed elevation and slope. For weak subgrades, over-excavation may be required, followed by backfilling with higher-quality stabilizing materials.
Forming a Compacted Foundation:
- Use a compactor to initially compact the exposed soil subgrade, creating a solid, level working platform. This serves as the “foundation” of the entire structure and is critical.
Step 3: Laying the First Layer of Base Aggregates
Spreading Aggregates:
- Uniformly spread the first layer of base aggregates (typically 10–15 cm thick) over the compacted soil subgrade.
Preliminary Compaction:
- Level the aggregates with a grader, then fully compact using a vibratory compactor. This layer provides a flat supporting surface for the geogrid.
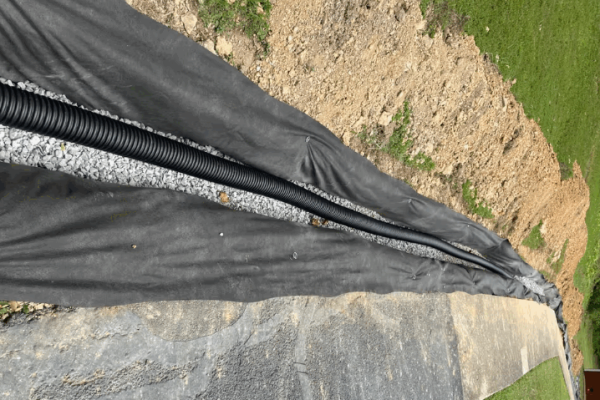
Step 4: Laying and Securing the Geogrid (Core Step)
This is the most critical step, directly determining the reinforcement effect.
Positioning and Unrolling:
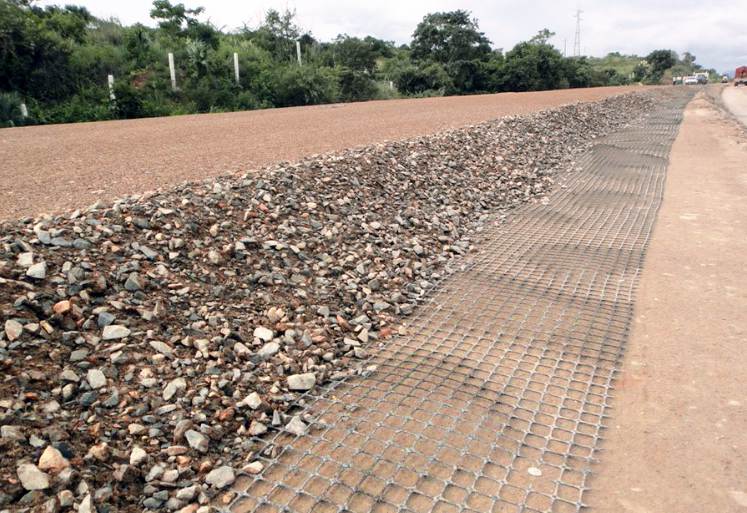
- Unroll the geogrid rolls along the driveway’s main stress direction (usually perpendicular to the direction of vehicle travel).
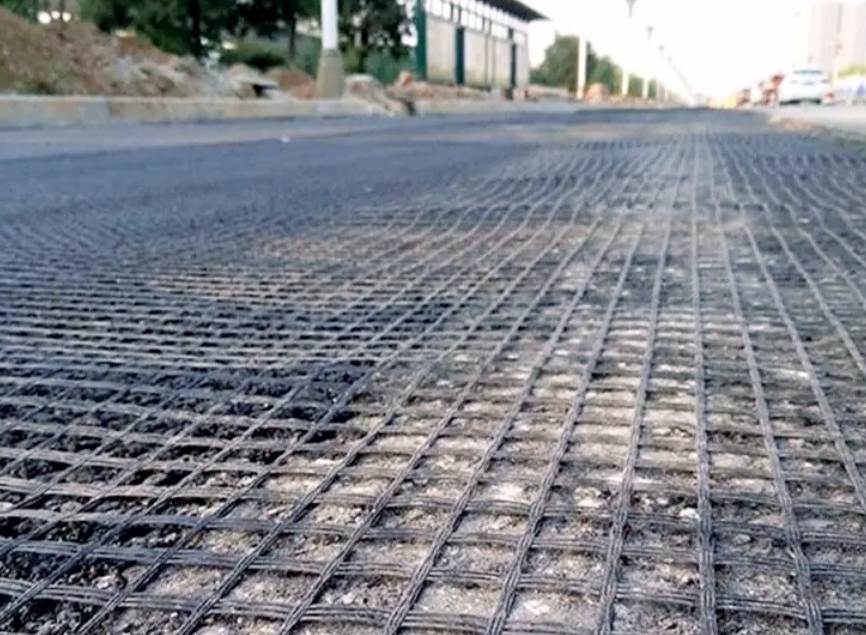
- Lay the geogrid flat on the first compacted aggregate layer with the mesh facing upward to facilitate interlocking with the upper aggregates.
Tensioning and Aligning:
- Ensure the geogrid is fully tensioned, with no wrinkles or slack. Use light machinery or manual labor to tension it if necessary.
- Adjacent geogrid rolls must have sufficient overlap length. Generally recommended:
- Biaxial geogrid: Minimum 15–30 cm overlap.
- Triaxial geogrid: Due to its unique triangular structure, overlap requirements may be smaller; follow the manufacturer’s recommendations.
Securing:
- Use U-shaped pins or steel bars to firmly secure the overlaps and edges of the geogrid to the base layer. This prevents the geogrid from shifting during aggregate filling.
- The spacing between fixing points is recommended to be 1–1.5 meters.
Step 5: Filling and Compacting the Second Layer of Aggregates
Filling Aggregates:
- Immediately fill the second layer of base aggregates over the laid and secured geogrid.
- Use an excavator or loader to carefully dump aggregates from one side to avoid damaging or displacing the geogrid.
- The filling thickness should fully cover and embed the geogrid (typically at least 15 cm).
Key Step: Vibratory Compaction:
- Use a vibratory compactor to traverse and compact the aggregate layer.
- Vibration and load will force the aggregates downward into the geogrid’s mesh, forming a strong “mechanical interlock” effect. This is the core mechanism by which geogrids function.
- Compaction should be done in layers, with each layer not too thick, to ensure the designed density is achieved.
Step 6: Laying the Surface Layer
On the compacted, level, and stable reinforced base, you can lay the final surface layer using standard techniques:
- For gravel driveways: Directly spread and level the final gravel surface layer, then lightly compact.
- For asphalt or concrete driveways: A qualified base is now in place, allowing professional paving teams to construct the surface layer.
- For brick driveways: Lay a leveling sand layer over the reinforced base, then install bricks and fill joints with sand.
Professional Tips and Avoiding Common Mistakes
Mistake 1: Geogrid Not Tensioned
Consequence: Wrinkles form, preventing uniform stress distribution and negating the reinforcement effect.
Correction: Always ensure the geogrid is tensioned during installation.
Mistake 2: Insufficient Overlap or Unsecured Joints
Consequence: Loads cannot be effectively transferred between geogrid layers, potentially causing cracks at joints.
Correction: Strictly follow overlap requirements and secure with pins.
Mistake 3: Using the Wrong Type of Aggregates
Consequence: Smooth river pebbles or overly fine sand cannot form an effective interlock with the geogrid.
Correction: Use angular, crushed stone as base aggregates.
Mistake 4: Dumping Aggregates from Too High a Height
Consequence: May damage or displace the geogrid.
Correction: Carefully dump aggregates from a low height.
If you are looking for a reliable driveway geogrid supplier, please feel free to contact us.
About Us: Lianjie
Lianjie is a one-stop supplier of geosynthetics with 15 years of professional experience and multiple national certifications. We provide the most professional driveway geogrid solutions!
Frequently Asked Questions
Q1: Can geogrids be used for asphalt driveways and gravel driveways?
A: Absolutely. They are suitable for all types of driveway surface layers, as their role is to reinforce the underlying base, regardless of the surface material.
Q2: Can it be used to repair old driveways that are already cracked?
A: Geogrids are mainly preventive rather than restorative. If an old driveway is severely damaged, the correct approach is to completely renovate it: excavate the old surface layer and base, install the geogrid in the new base, and then repave the surface layer. It cannot directly repair surface cracks.
Q3: What is the difference between geogrids and geotextiles?
A: This is a key difference! Geotextiles are permeable fabrics, mainly functioning for separation and filtration (preventing base aggregates from mixing with soft soil while allowing water to pass through). Geogrids are rigid grids, primarily for reinforcement and stabilization. In some projects, the two are used in combination.
Q4: How long is the lifespan of geogrid driveways?
A: High-quality high-density polyethylene (HDPE) or polypropylene geogrids, under designed loads, have a design life of over 50 years, basically synchronized with the lifespan of your driveway.
Reference Sources
- ASTM D6637 – Standard Test Method for Determining Tensile Properties of Geogrids by the Single or Multi-Rib Tensile Method
- Relevance: This is the core standard for determining key performance indicators of geogrids, such as tensile strength and elongation. The “tensile strength” mentioned in the article’s selection guide originates from this test.
- ASTM D4595 – Standard Test Method for Tensile Properties of Geotextiles by the Wide-Width Strip Method
- Relevance: While primarily for geotextiles, its testing principles are often referenced to understand the tensile behavior of reinforcement materials.