Are you tired of waging an endless battle against uninvited garden weeds every weekend? These intruders don’t just steal nutrients and sunlight from your beloved plants—they also drain your time and energy. Fortunately, using a weed barrier is an efficient, long-lasting solution. But with countless products on the market, how do you select the best weed barrier for your garden? This guide will help you pick the perfect option for your needs, solving weed problems once and for all.
What Is a Weed Barrier, and Is It Necessary?
A weed barrier, simply put, is a physical barrier laid on the soil surface. Its core function is to block sunlight from reaching weeds, thereby inhibiting their growth.
How Does a Weed Barrier Work?
The science behind it lies in blocking photosynthesis. Weeds (especially annual weeds) need sunlight to produce nutrients, survive, and grow. When a barrier covers the soil, it acts like a “sunshade,” preventing weed seedlings from photosynthesizing—they eventually die from “starvation.”
Important Note: A weed barrier primarily prevents new weed seeds from germinating and growing. For established weeds (especially deep-rooted perennials), you must completely remove them before laying the barrier. Otherwise, they may stubbornly push through.
Is a Weed Barrier Necessary?
The answer depends on your needs:
- Highly recommended for: Low-maintenance gardens, under shrubs, beneath stone or gravel paths, and walkways in vegetable gardens.
- May not be suitable for: Flower beds where you frequently replace plants or sow seeds—since the barrier blocks direct access to the soil.
Comparison of 5 Main Weed Barrier Types
Choosing the right type is key to finding your best weed barrier. Below is a detailed breakdown:
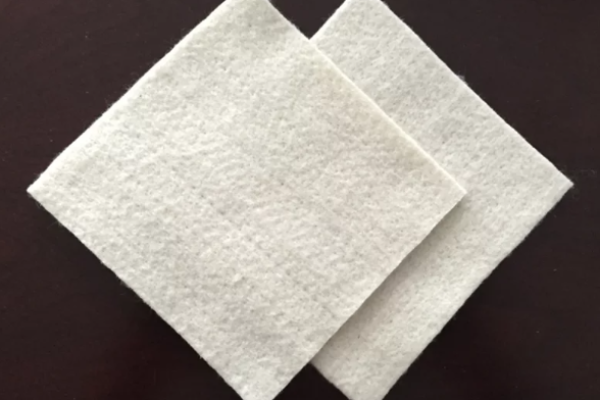
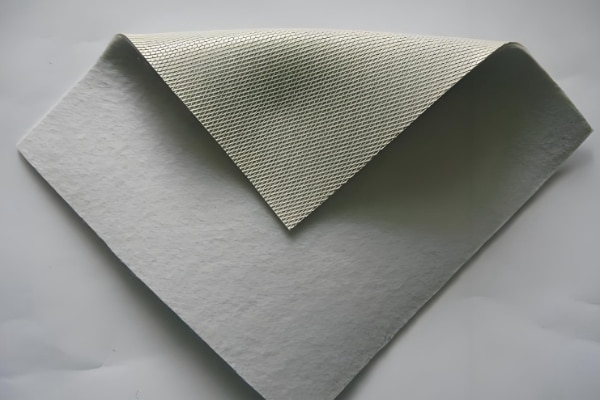
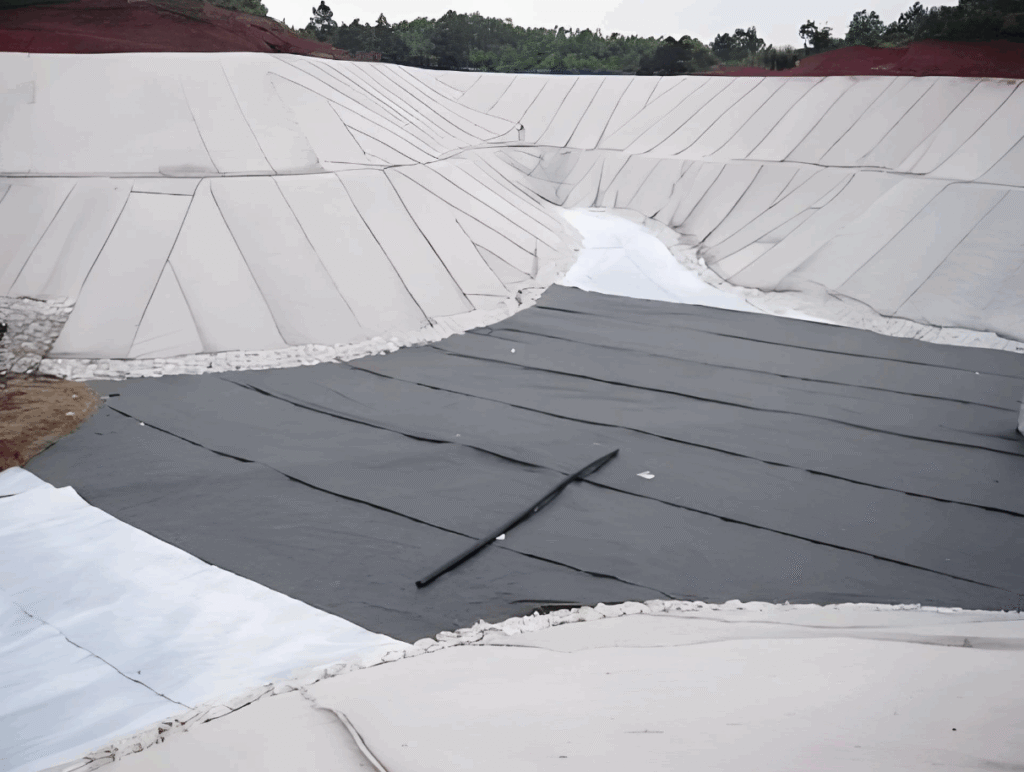
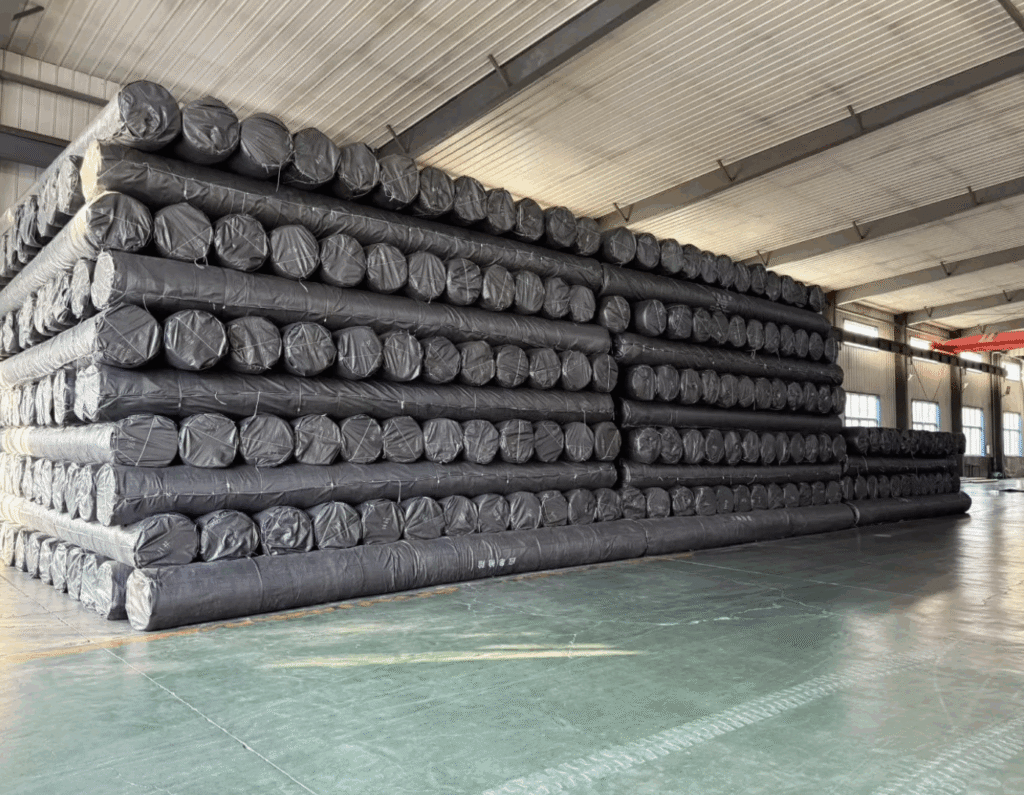
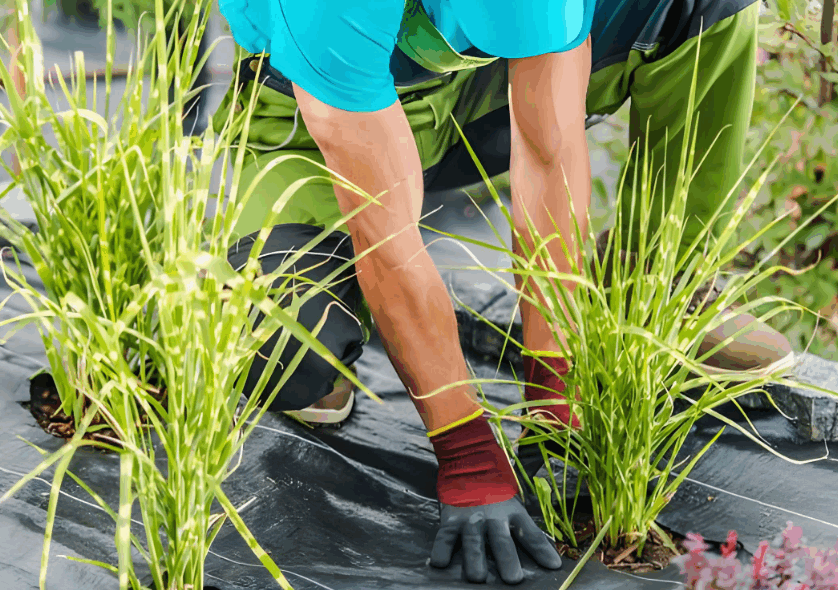
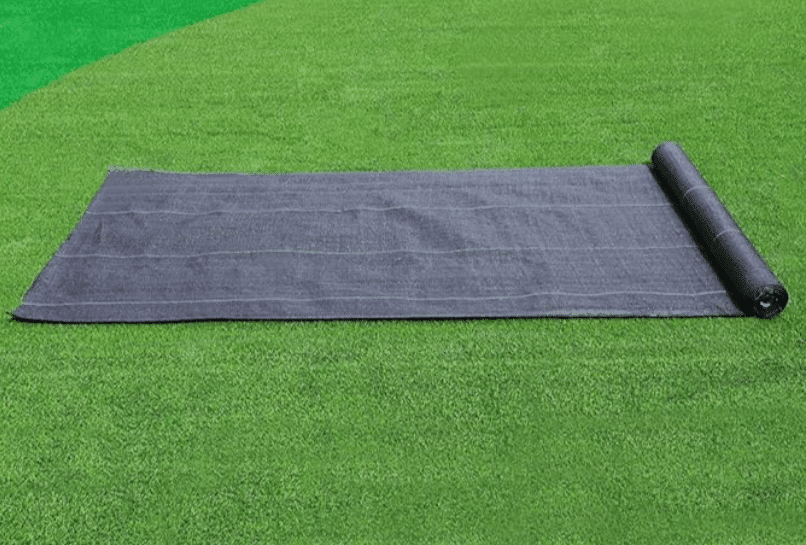
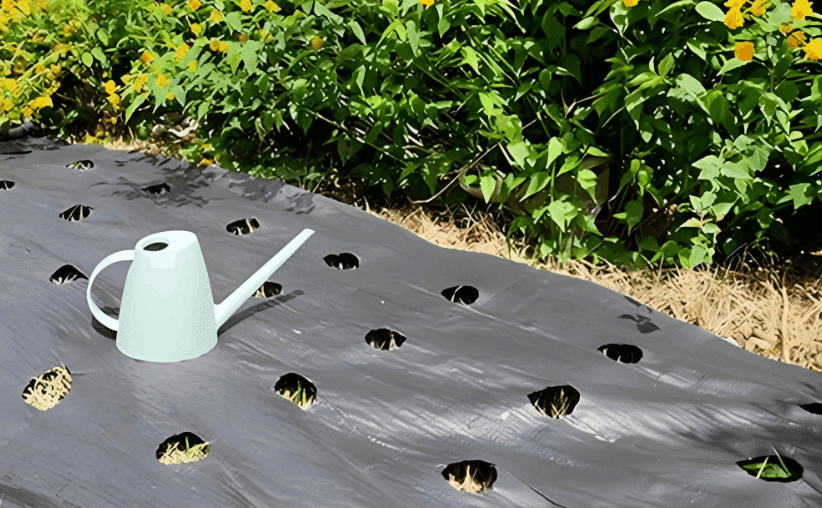
1. Landscape Fabric
This is the most commonly cited “professional” weed barrier, usually made of breathable spunbond polypropylene or woven polyester.
- Pros: Highly effective at weed prevention, long-lasting (quality products last 5+ years), and allows water and air to penetrate.
- Cons: Over time, soil and organic matter accumulate on the fabric, which may grow weeds instead; low-quality non-woven fabrics can be broken through by tough weeds; it somewhat disrupts the soil’s natural ecological cycle.
- Best Use Cases: Gravel paths, rock gardens, and under patio floors (one of the top weed barrier choices for hardscaping).
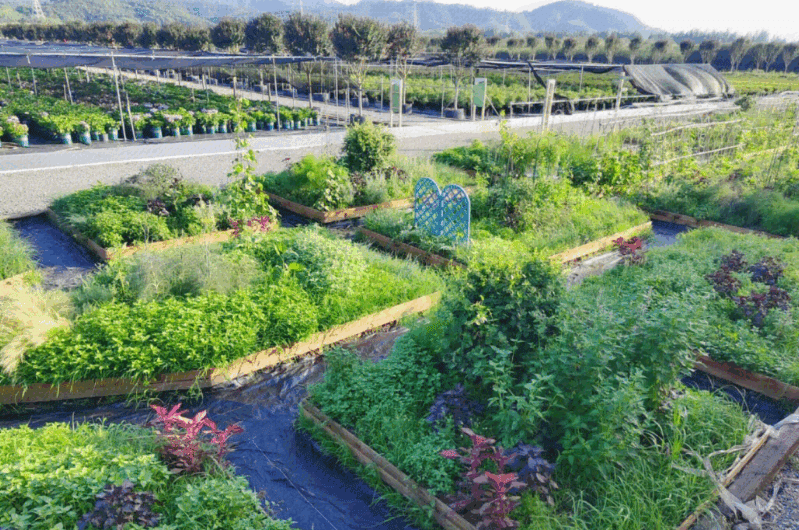
2. Organic Mulch
Not a fabric, but a thick layer of organic materials (e.g., wood chips, bark, shredded leaves, straw, or pine needles).
- Pros: While preventing weeds, it decomposes to improve soil structure, boost fertility, retain moisture, and regulate soil temperature—making it the most eco-friendly weed barrier option.
- Cons: Requires regular replenishment (usually 1–2 times a year); if not fully decomposed, it may contain weed seeds.
- Best Use Cases: Flower beds, vegetable gardens, and around trees or shrubs.
3. Cardboard
A low-cost, high-efficiency option often used in “no-till” gardening.
- Pros: Free or very cheap, biodegradable, and extremely effective at smothering existing grass and weeds.
- Cons: Temporary solution (lasts about one growing season), easily damaged when wet, and low in aesthetics.
- Best Use Cases: Preparing new vegetable beds or flower beds, practicing “no-till” farming, and temporary weed control.

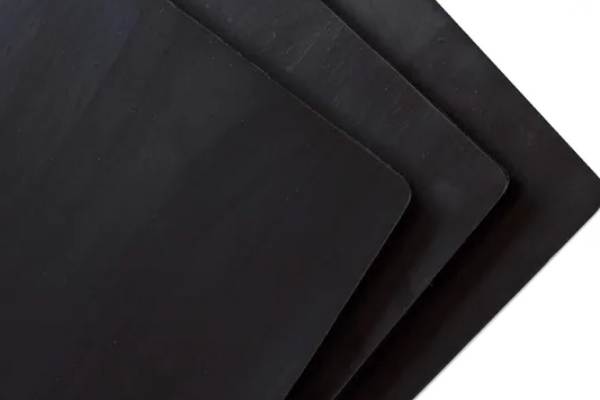
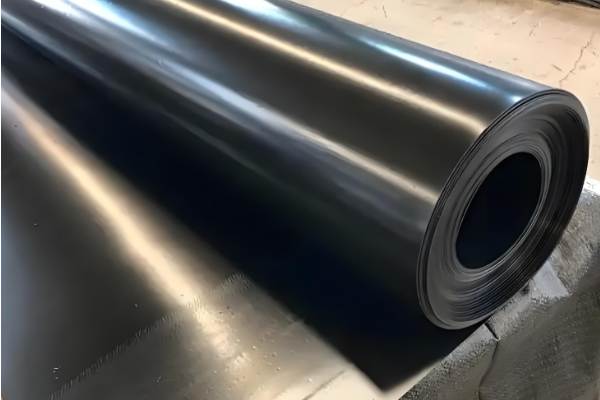
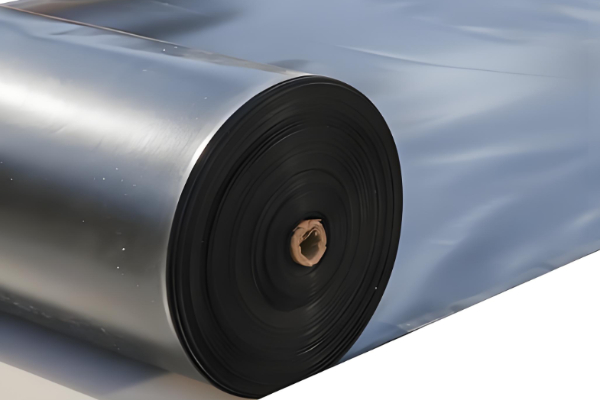
4. Plastic Sheeting
Typically black or clear plastic.
- Pros: Excellent at weed control and raising soil temperature.
- Cons: Impermeable to water and air, completely destroys soil ecological health, non-environmentally friendly, and prone to aging and cracking.
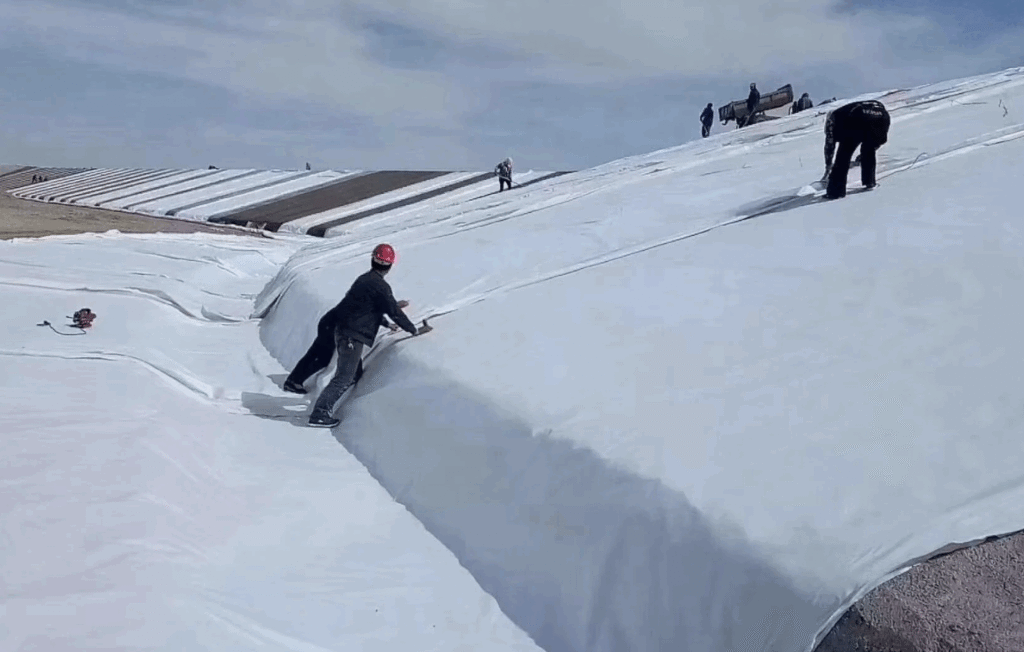
- Best Use Cases: Mainly for commercial agriculture (e.g., strawberry cultivation) to quickly raise soil temperature; not recommended as a home garden weed barrier.
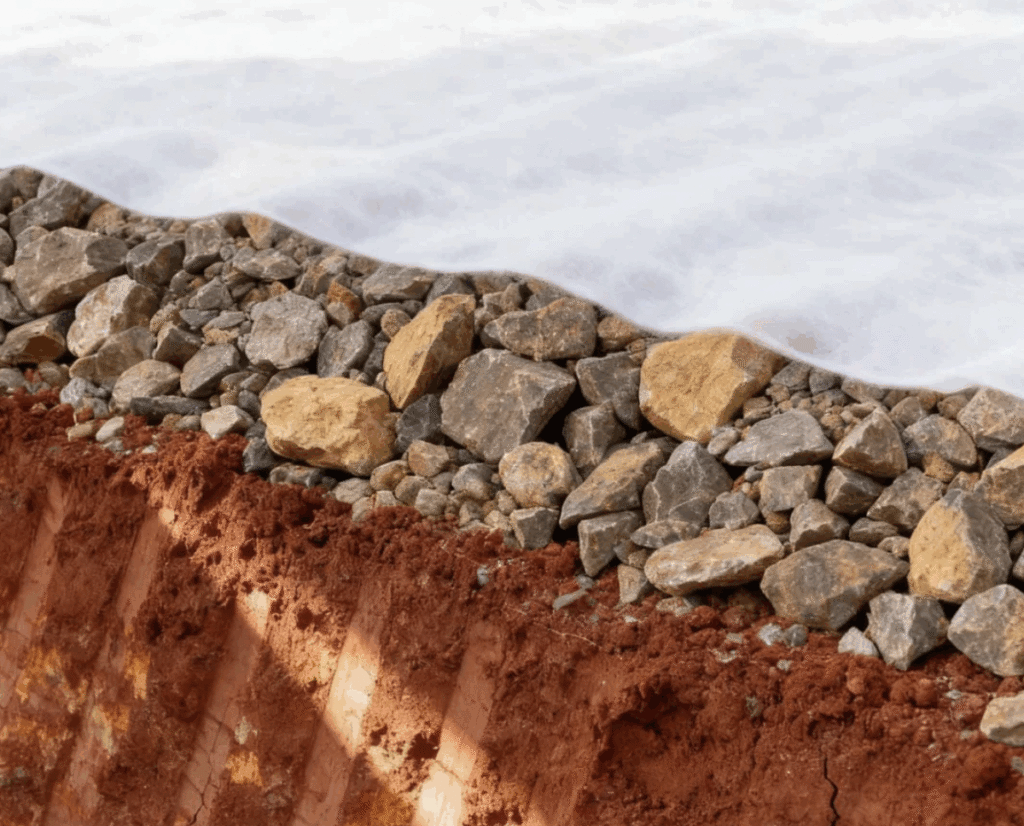
5. Stones/Gravel
Uses crushed stone as a physical barrier.
- Pros: Extremely durable, almost no maintenance required, and decorative.
- Cons: High initial cost; difficult to clean leaves from gaps; weeds and moss may still grow in crevices over time.
- Best Use Cases: Permanent decorative paths, driveways, and arid landscape areas.
Comparison Table
| Type | Weed Suppression | Longevity | Cost | Impact on Soil Health | Best Use Case |
|---|---|---|---|---|---|
| Landscape Fabric | Excellent | 3-5 years (Quality) | Medium | Slightly Negative | Under Hardscape |
| Organic Mulch | Good | 6-12 months | Low-Medium | Positive Improvement | Flower Beds, Gardens |
| Cardboard | Excellent (Short-term) | One Season | Very Low | Positive Improvement | Reclaiming New Ground |
| Plastic Sheeting | Excellent | 1-3 years | Low | Severely Damaging | Commercial Farming |
| Stone/Gravel | Good | Permanent | High | Neutral | Permanent Paths |
In summary, the best weed barrier for a garden is landscape fabric, which can block sunlight, prevent weed growth, and allow water and nutrients to enter the soil. It is very suitable for gardens, flower beds, and paths.
Recommended Reading:What is the Best Landscape Fabric?The 3 Best Landscape Fabrics
What’s the Difference Between Landscape Fabric and Weed Barrier?
This is a common confusion—but essentially, they refer to the same type of product with no fundamental difference. The two terms are often used interchangeably in the market.
If we must distinguish minor differences:
- “Landscape fabric” sounds more “professional” and typically refers to higher-quality, more durable, and better water-permeable woven or non-woven materials. It’s often used as a long-term professional-grade weed barrier in landscaping projects.
- “Weed barrier” is a more general, colloquial term. It can cover everything from professional landscape fabric to thin black ground sheets.
How to Install a Weed Barrier
Proper installation ensures your weed barrier works effectively. Follow these steps:
Step 1: Gather Tools & Thoroughly Prepare the Site
- Tools Needed: Weed barrier, garden staples (ground pins), spade, rake, utility knife, gloves.
- Key Action: This is the most important step! Completely remove all existing weeds, sod, stones, and roots. Use a rake to level the soil.
Step 2: Lay the Weed Barrier Correctly
- Place the smooth (or labeled) side of the weed barrier facing up. If one side is fuzzy, the fuzzy side should face down to guide water.
- Roll out the barrier along the area. Ensure adjacent pieces overlap by at least 15–20 cm—this is critical to prevent weeds from growing through seams.
Step 3: Secure Firmly & Trim Precisely
- Immediately use garden staples to secure the barrier along edges and all overlapping seams. Space staples 1–1.5 meters apart; use more in windy areas.
- For trees or existing shrubs, cut an “X” shape around their roots (not a full circle) to leave room for future growth.
- Use a utility knife to trim excess material along boundaries.
Step 4: Add a Top Layer (Indispensable!)
Highly recommend adding a 5–8 cm thick decorative top layer (e.g., wood chips, bark chunks, or gravel) over the installed weed barrier.
- Functions:
- Protect the barrier from direct UV rays, significantly extending its lifespan.
- Enhance aesthetics for a neater, more natural landscape look.
- Add weight to further hold down the barrier and boost weed control.
- Retain soil moisture.
Common Weed Barrier Myths & Professional Tips
Myth 1: Black Plastic Sheeting Is a Universal Money-Saving Solution
Correction: It suffocates the soil, destroys the ecosystem, and blocks water—eventually causing root problems for plants. Avoid it for home gardening and choose a more sustainable weed barrier instead.
Myth 2: Laying a Weed Barrier Means “Set It and Forget It”
Correction: Even with proper installation, wind-blown dust and bird droppings will form a thin soil layer on the mulch or barrier over time. A few weeds may still grow and need simple removal. Mulch also requires regular replenishment.
Looking for the best weed barrier for your garden, I hope this article can help you and give you more time to enjoy the beauty of the garden, rather than working endlessly in it.
Weed Barrier FAQ
Q: Will weed barrier fabric harm my plants?
A: No, if used correctly. Ensure you cut enough space for existing trees and shrubs to grow, and choose a water-permeable, breathable product to avoid disrupting root respiration and water supply.
Q: Should I add mulch on top of the weed barrier?
A: Highly recommended! As mentioned earlier, mulch protects the barrier from UV damage (extending its lifespan several times), and makes the landscape look more natural.
Q: Are chemicals in cardboard (ink, tape) safe for gardens?
A: Choose plain brown cardboard. Remove all plastic tape, labels, and staples. Modern soy-based inks are usually safe. Avoid brightly colored, coated cardboard boxes.
Q: What’s the cheapest weed barrier?
A: Cardboard is undoubtedly the lowest-cost option—you can often get it for free from supermarkets or bike shops. The next best choice is free organic mulch (e.g., grass clippings, shredded leaves from your yard).
Reference Sources
- University Agricultural Extension Services:
- Resources: Materials from institutions such as the University of California’s Integrated Pest Management Program, Cornell University’s Department of Horticulture, and other similar extensions.
- Referenced Content: Information on the benefits of mulch for soil health (increasing organic matter, moisture retention), the properties of different mulch materials (e.g., carbon-to-nitrogen ratio), and the scientific principles behind “no-till” gardening. They often provide practical advice based on localized research.
- United States Department of Agriculture (USDA) – Natural Resources Conservation Service (NRCS):
- Resources: Information on soil health and organic matter.
- Referenced Content: Emphasizes the role of organic mulch in improving soil structure and promoting beneficial microbial activity, providing a solid scientific basis for recommending organic mulches.