As an indispensable new material in civil engineering, geotextile plays a core role in enhancing soil stability, achieving efficient drainage, and preventing soil erosion. It is widely used in road engineering, slope protection, retaining wall construction, drainage works, environmental protection projects, and other scenarios, serving as a key material to improve engineering quality and extend service life.
For construction practitioners and project managers, the correct installation of geotextile directly determines its functional performance. Improper installation can reduce geotextile performance by more than 50%, causing not only material waste and project delays but also increased later maintenance costs. In contrast, standardized construction can save 15–20% of maintenance costs and extend the service life of engineering structures by 25%. Therefore, mastering scientific and practical construction methods is crucial.
Based on industry specifications and practical experience, this article compiles a complete process guide for geotextile construction, covering pre-construction preparation, step-by-step construction, scenario adaptation, error avoidance tips, specification standards, cost and cycle management, and later maintenance, all tailored to actual engineering needs.
1. Pre-Construction Preparation for Geotextile Installation
1.1 Geotextile Selection
Geotextile selection must be based on project scenarios, soil types, and load requirements. Performance varies greatly among different types of geotextiles, and blind selection will severely compromise construction effects. The following are the three most commonly used types in engineering and their selection criteria, in compliance with GB/T 50290-2014 Code for Application of Geosynthetics:
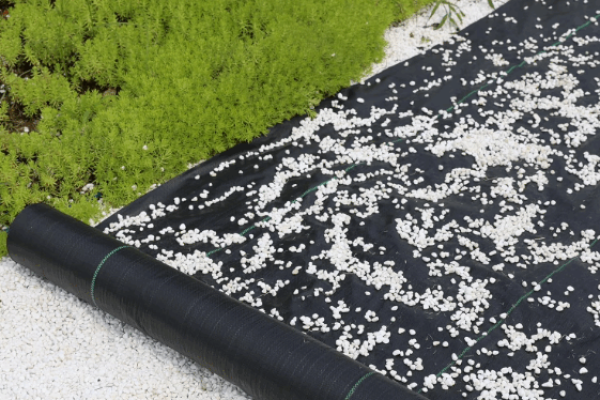
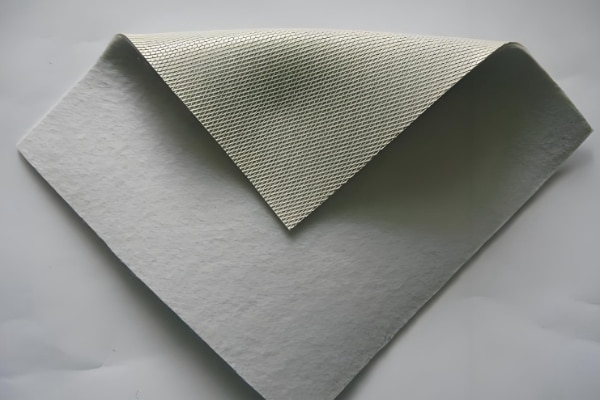
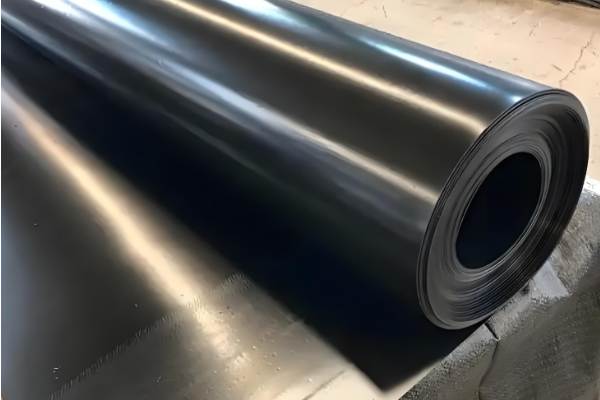
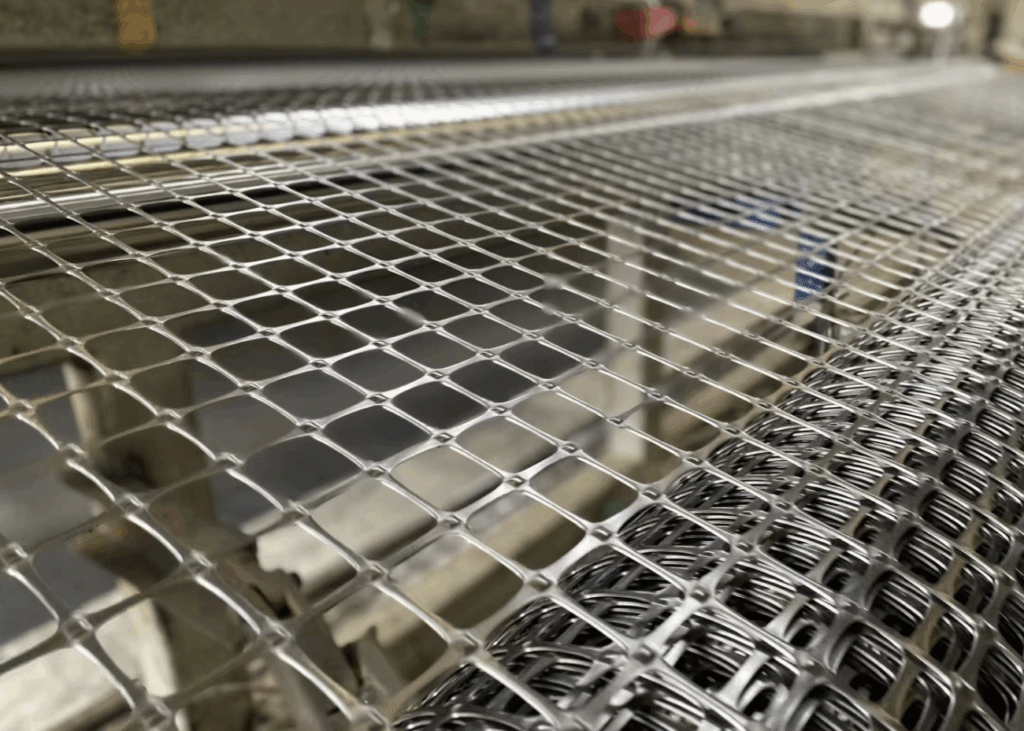
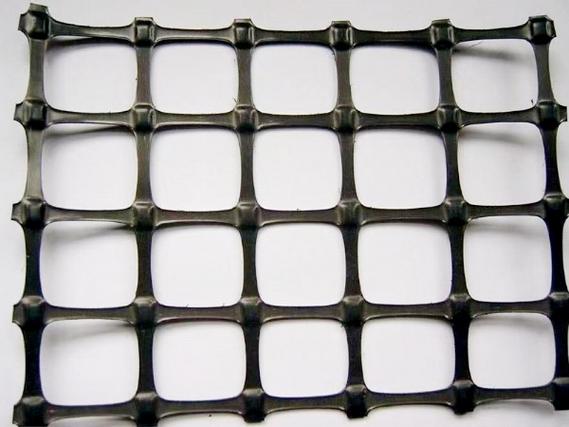
- Woven Geotextile: High tensile strength (20–100 kN/m) with excellent toughness. Mainly used for road subgrade reinforcement and foundation treatment to effectively separate soil layers and improve subgrade load-bearing capacity. Preferred for road construction projects requiring high tensile resistance.
- Non-woven Geotextile: High permeability (100–140 gallons per minute per square foot) with superior filtration performance. Suitable for drainage works, slope anti-erosion, underground waterproofing, etc., to quickly drain soil moisture, prevent soil loss, and protect structural stability.
- Knitted Geotextile: Excellent flexibility to adapt to complex terrains and fit irregular foundations. Mainly used for slopes with complex topography and areas around retaining walls, effectively preventing geotextile damage caused by terrain undulations.
Key selection indicators include grammage (100–400 gsm), tensile strength, permeability, and UV resistance. UV resistance directly affects service life; outdoor projects should prioritize UV-resistant models to avoid aging and damage from long-term exposure.
1.2 Preparation of Construction Materials and Equipment
All materials and equipment must be prepared in advance to avoid work stoppages due to material shortages during construction. The detailed list below conforms to industry practical standards:
(1) Core Materials
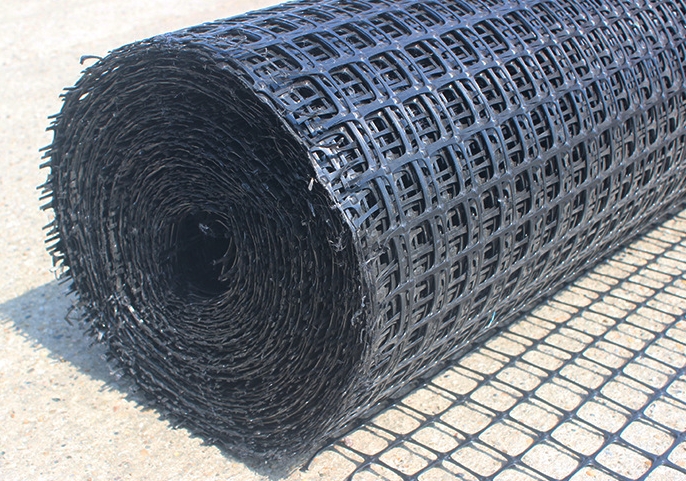
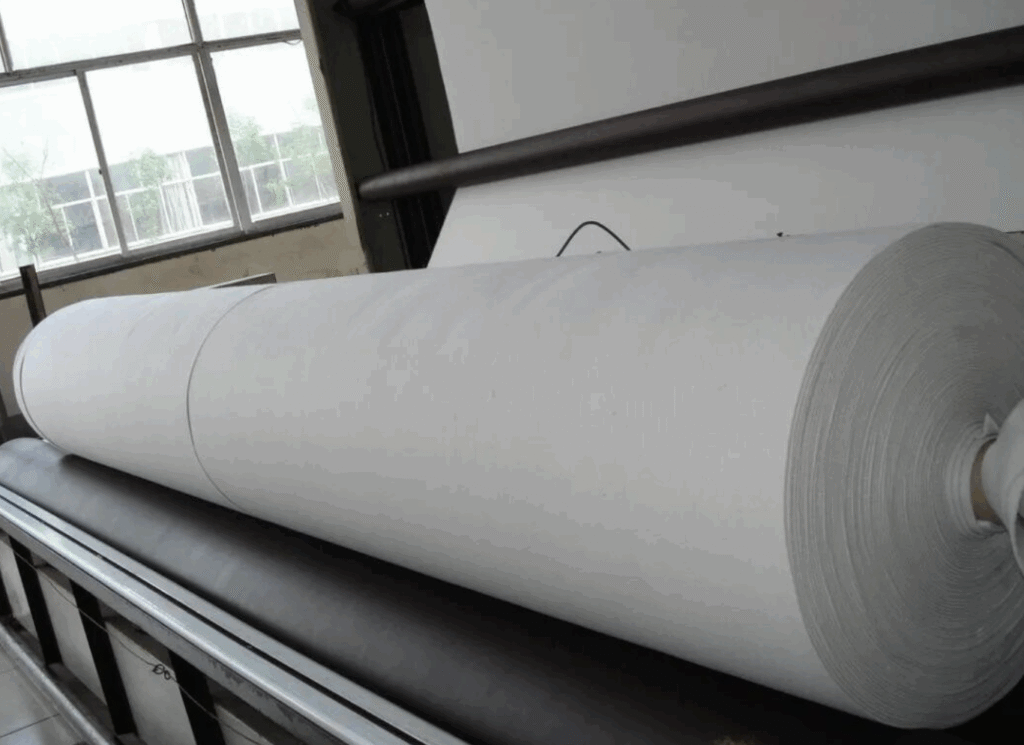
- Geotextile rolls: Calculate usage reasonably according to project area and selection requirements, with a 5%–10% margin reserved for damage repair.
- Sewing threads: UV-resistant polyester threads with tensile strength ≥ 60 N to ensure joint strength and prevent later cracking.
- Repair geotextile patches: Same material as the construction geotextile for timely repair of damaged areas during construction.
(2) Construction Equipment
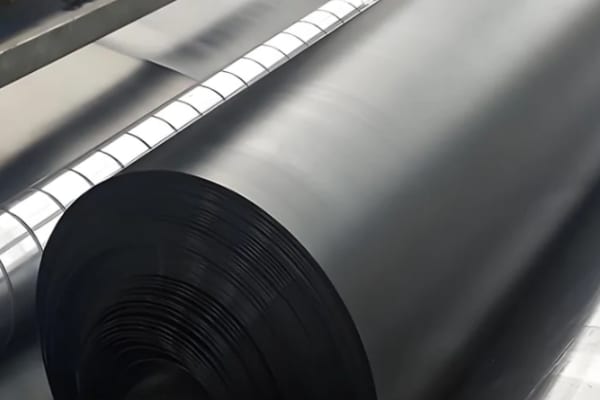
- Laying equipment: Manual laying stands for small projects for flexible operation; mechanical laying machines for large projects to improve efficiency and ensure smooth laying.
- Splicing equipment: Hot melt welding machines for woven geotextiles, industrial sewing machines for needle-punched geotextiles, and glue guns for leak repair to ensure tight splicing.
- Auxiliary tools: Tape measures (for measuring lap width and laying length), special cutting knives (to avoid scratching geotextile with ordinary tools), sandbags (for temporary fixing to prevent wind displacement), pressure rollers (to smooth wrinkles), and anchor nails (galvanized steel or plastic nails, diameter ≥ 8 mm, length ≥ 300 mm for geotextile fixation).
- Testing tools: Compaction tester (for testing foundation compaction), tape measures (for auxiliary inspection of lap width and axis deviation).
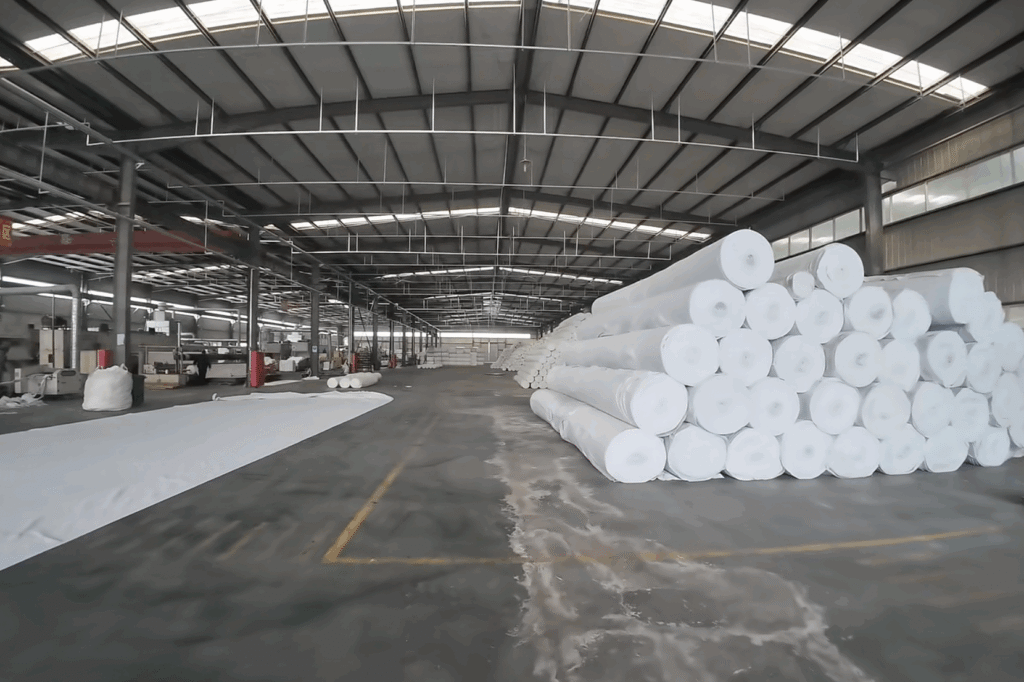
(3) Material Storage Requirements
Geotextiles shall be stored on flat, water-free sites with stacking height not exceeding 4 rolls to avoid extrusion damage. Cover with opaque materials to prevent UV aging; keep away from chemical reagents and sharp objects to avoid contamination or damage. Regular inspections shall be conducted during storage, and damaged products shall be handled promptly.
1.3 Construction Site Preparation
On-site preparation directly affects construction quality and must be carried out in strict accordance with the following requirements, aligning with core geotextile construction specifications:
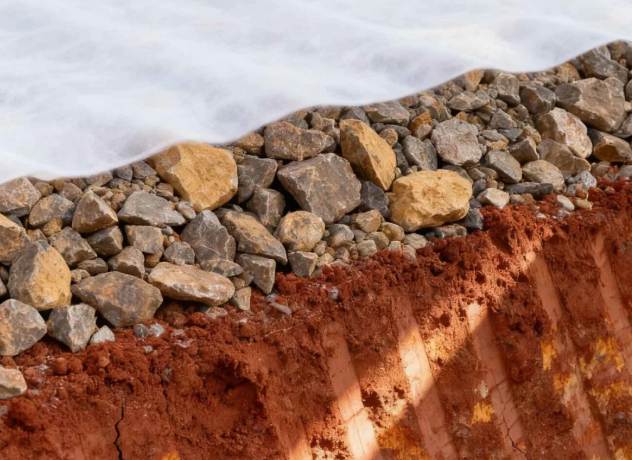
- Foundation Treatment: Thoroughly remove debris, sharp objects (e.g., stones, branches), and vegetation from the foundation surface. Repair foundation cracks (asphalt pavement with asphalt patching) to ensure a flat foundation free of protrusions or depressions, preventing sharp objects from puncturing the geotextile.
- Foundation Compaction: Foundation compaction ≥ 0.95 (maximum dry density); sandy soil density shall reach 1.6–1.8 g/cm³. Inspect foundation levelness after compaction to ensure no significant slope deviation.
- Weather Preparation: Construction ambient temperature ≥ 5℃, wind force ≤ 4 levels. Construction in rain, snow, or strong wind is prohibited—rain/snow causes wet foundations and geotextile slippage, while strong winds impair laying flatness. Protective measures shall be taken in humid weather, with timely backfilling after laying to avoid moisture-induced aging.
2. Step-by-Step Geotextile Construction Process
Geotextile construction follows the core process: Laying → Splicing → Fixing → Backfilling → Inspection. Each step must comply with specifications to avoid quality issues caused by detailed errors. The specific steps are as follows:
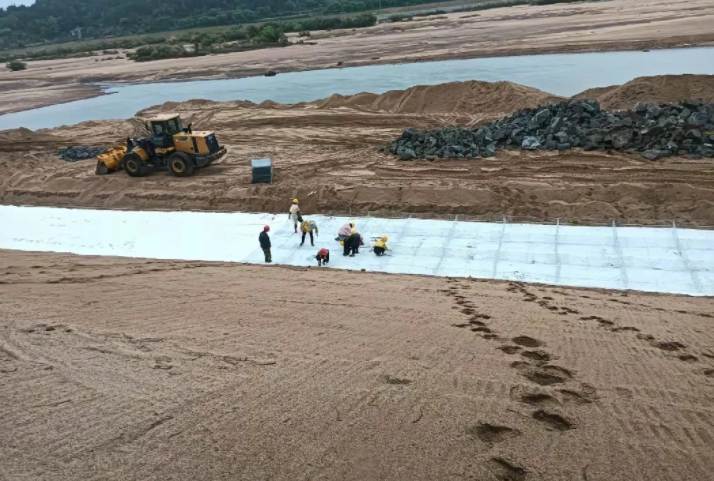
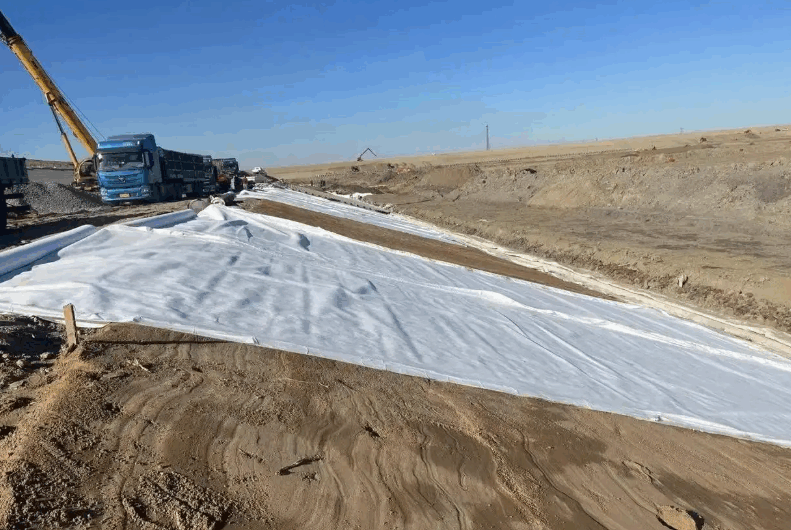
2.1 Geotextile Laying and Unfolding
- Laying Direction: For planar works (roads, squares), lay along the project axis; for dam works, along the dam axis; for slope works, along contour lines from bottom to top to ensure tight fitting with the foundation and uniform stress.
- Laying Method: Manual rolling for small projects with multi-person coordination to unfold slowly and avoid excessive stretching. Mechanical laying for large projects with adjusted speed to ensure smooth, moderately tight laying close to the foundation, free of wrinkles or suspension.
- Precautions: Construction personnel shall wear soft-soled shoes to avoid damaging geotextile with hard-soled shoes. In strong winds, fix geotextile with sandbags or stones while laying to prevent wind displacement. Adjust promptly during laying to avoid wrinkles or distortion.
2.2 Geotextile Splicing and Sewing
Splicing is a critical construction step; loose splicing leads to later water leakage and soil loss. Select appropriate splicing methods based on geotextile type with the following requirements:
- Lapping: Natural lap width ≥ 20 cm; lap width ≥ 50 cm for slopes, soft soil, or underwater environments. Water flow direction shall follow the principle of “upper sheet overlapping lower sheet” to prevent water infiltration and displacement.
- Sewing: Adopt continuous overlock sewing with stitch distance ≥ 25 mm from the edge. Use UV-resistant, high-tensile polyester threads, avoiding missed or skipped stitches to ensure tight splicing. Tensile strength at joints shall be no less than 80% of the geotextile itself.
- Welding: Hot air welding is preferred for filament geotextiles, with 20 cm overlap for high-temperature fusion to ensure tight fitting without virtual or missed welding. Welding in humid weather is prohibited to prevent joint cracking. Inspect promptly after welding and repair defects immediately.
- Splicing Inspection: Inspect each joint one by one to confirm no missed sewing, virtual welding, skipped stitches, or looseness. Non-conforming areas shall be reworked promptly to meet quality standards.
2.3 Geotextile Fixing and Anchoring
Fix and anchor geotextile promptly after laying and splicing to avoid displacement during backfilling or wind exposure. Different fixing methods apply to different scenarios:
- Anchor Nail Fixation: Mainly for slope works, anchor nail spacing ≤ 1.5 m in staggered upper and lower rows, with penetration depth ≥ 200 mm to ensure firm fixation and prevent sliding.
- Ballast Fixation: Mainly for planar works, using sandbags (≥ 50 kg each) or crushed stones with spacing ≤ 2 m, evenly arranged to ensure tight fitting with the foundation.
- Sewing Fixation: When connecting to concrete retaining walls, abutments, etc., sew geotextile to embedded steel bars to prevent detachment.
- Edge Fixation: Bury geotextile edges ≥ 300 mm into the foundation and compact with soil to avoid edge exposure, aging, and damage.
2.4 Backfilling and Compaction
Backfill promptly after fixation to avoid long-term UV exposure. Protect geotextile during backfilling with the following requirements:
- Backfilling Requirements: Layered backfilling with each layer ≤ 30 cm thick. Use sand or gravel free of sharp objects and debris. Stone drop height ≤ 30 cm to prevent impact damage. Heavy machinery shall not directly roll over geotextile; a 30 cm loose soil layer shall be backfilled first before rolling.
- Compaction Requirements: Light rolling compaction after each layer, with compaction meeting design requirements to ensure a flat, solid backfill layer tightly fitted to geotextile without voids.
2.5 Post-Construction Inspection
Conduct a comprehensive inspection to identify defects and ensure compliance with specifications:
- Comprehensive Inspection: Check geotextile integrity, splicing quality, and fixation. Mark damaged, loose, or poorly spliced areas for timely repair.
- Repair Specifications: Cover damaged areas with matching geotextile patches with lap width ≥ 30 cm. Secure via tight thermal bonding or continuous overlock sewing. Reinspect after repair to ensure qualified tensile strength.
- Inspection Standards: On-land lap length deviation ≤ ±10 cm, underwater ≤ ±1/5 design value; on-land axis deviation ≤ 50 cm, underwater ≤ 15 cm. Non-conforming areas shall be adjusted and reworked. Only qualified projects can proceed to the next process.
3. Geotextiles Installation Techniques in Different Scenarios
Geological conditions and construction requirements vary across engineering scenarios. Adjust operations according to scenario characteristics. Below are adaptation tips for 4 common scenarios:
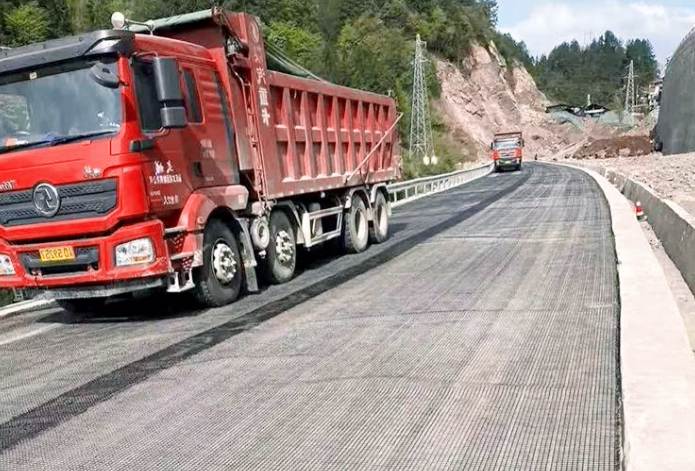
3.1 Geotextile Construction for Road Engineering
Used for subgrade reinforcement and soil layer separation to improve load-bearing capacity:
- Selection: Prioritize woven geotextile (75–200 gsm) with focus on tensile strength to withstand vehicle loads.
- Special Requirements: Lay along road axis with splicing width ≥ 30 cm; foundation compaction ≥ 0.95. Layered backfilling with no direct heavy rolling; post-backfill compaction meets road design standards.
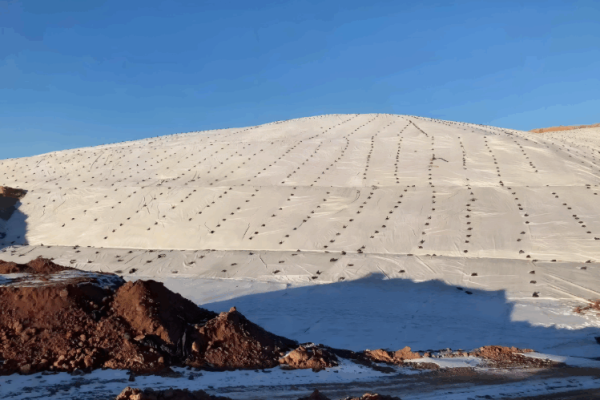
3.2 Geotextile Construction for Slope Erosion Control
Used for drainage and soil loss prevention to protect slope stability:
- Selection: Prioritize non-woven geotextile with high permeability for rapid moisture drainage.
- Special Requirements: Lay along contour lines from bottom to top with lap width ≥ 50 cm; anchor nail spacing ≤ 1.5 m in staggered rows. Extend geotextile ≥ 1.5 m at slope top and toe into stable strata for compaction fixation.
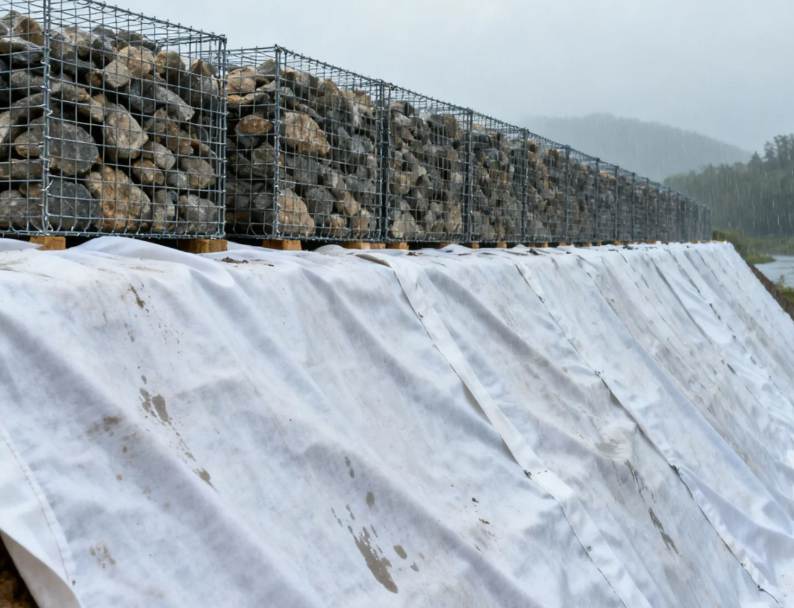
3.3 Geotextile Construction Behind Retaining Walls
Used for filtration and drainage to enhance stability and reduce water pressure deformation:
- Selection: High-tensile, corrosion-resistant geotextile with good filtration and drainage performance.
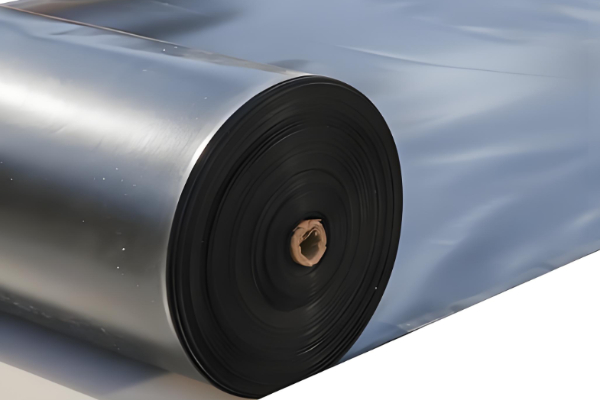
- Special Requirements: Lay cooperatively with geomembrane (geotextile adjacent to soil, geomembrane to wall) with tight splicing. Bury edges in anchor trenches; backfill with permeable gravel to avoid water accumulation.
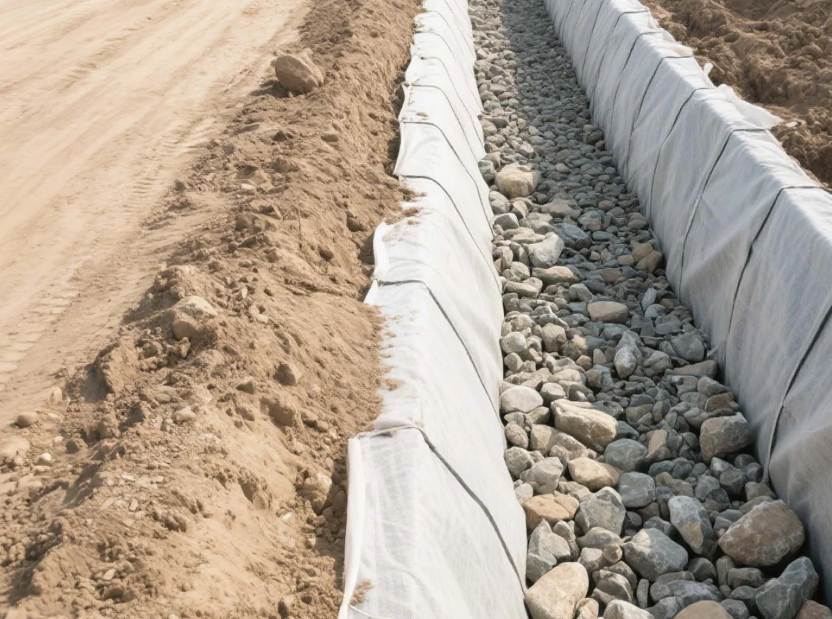
3.4 Geotextile Construction for Drainage Engineering
Used for filtration to prevent pipe clogging in underdrains, channels, and roof drainage:
- Selection: Prioritize non-woven geotextile (100–400 gsm) with high permeability for smooth drainage and effective filtration.
- Special Requirements: Fit tightly to drainage pipes/channels with sealed joints to prevent debris intrusion. Fix promptly to avoid displacement from water impact.
4. Common Geotextile Installation Errors and Solutions
Novice errors often lead to quality issues and rework. Below are 5 typical errors and targeted solutions:
Error 1: Unclean foundation with sharp objects puncturing geotextile
Solution: Thoroughly remove debris and sharp objects, level protrusions, and repair cracks. For punctures, repair with matching patches (lap ≥ 30 cm) for firm fixation.
Error 2: Insufficient lap/sewing width leading to loose splicing
Solution: Strictly control lap width (≥ 20 cm planar, ≥ 50 cm slope/underwater) and sewing width ≥ 10 cm with continuous overlock stitching. Inspect and rework loose joints to meet tensile strength standards.
Error 3: Wrinkles or excessive stretching during laying
Solution: Unfold slowly with multi-person adjustment, smooth wrinkles with pressure rollers, and reserve deformation allowance. Correct wrinkles before fixation to avoid performance degradation.
Error 4: Prolonged UV exposure of geotextile
Solution: Minimize exposure time with timely backfilling. Cover with opaque materials during storage/construction; select UV-resistant models to prevent aging.
Error 5: Geotextile damaged by falling stones during backfilling
Solution: Screen sharp stones from backfill materials and control drop height ≤ 30 cm. No direct heavy rolling. Repair minor damage and replace severely damaged geotextile.
5. Post-Installation Maintenance of Geotextile
Proper maintenance extends service life and reduces costs:
5.1 Short-Term Maintenance (1–2 Weeks After Construction)
Inspect for damage, displacement, or backfill settlement. Repair damaged areas promptly; refill and compact sunken areas to avoid exposure or uneven stress.
5.2 Long-Term Maintenance (Every 6–12 Months)
Regularly inspect integrity and remove surface sharp debris. Reinforce eroded or settled backfill areas. Repair or replace severely aged edges to maintain structural stability.
5.3 Maintenance Precautions
- Prohibit heavy object stacking, sharp material storage, and heavy machinery rolling on geotextile areas.
- Avoid contact with acid/alkali chemical reagents to prevent corrosion and aging.
- Regularly inspect UV resistance for outdoor projects and address aging/damage promptly.
6. Frequently Asked Questions
Q1: What are the core steps of geotextile construction?
A1: 5 core steps in sequence: Pre-construction preparation (selection, material preparation, site treatment) → Geotextile laying and unfolding → Splicing and sewing → Fixing and anchoring → Backfilling and compaction → Post-construction inspection. Strict standard operation ensures quality.
Q2: Can geotextile be laid on wet soil?
A2: Non-woven geotextile (high permeability) can be laid on moderately wet soil with protection and timely backfilling. Woven geotextile prefers dry foundations, as wet soil causes slippage and poor splicing.
Q3: How to select suitable geotextile for my project?
A3: Based on 3 factors: ① Project scenario (woven for roads, non-woven for drainage, knitted for complex terrain); ② Soil type (high permeability for wet soil, high tensile for soft soil); ③ Load requirements (high tensile/heavy grammage for heavy-load projects). Refer to GB/T 50290-2014.
Q4: What is the minimum lap width for geotextile construction?
A4: ≥ 20 cm for planar works, ≥ 50 cm for slopes, soft soil, or underwater works. Upper sheets shall overlap lower sheets along water flow to prevent infiltration and displacement.
Q5: How to repair damaged geotextile after installation?
A5: ① Clean and level the damaged area; ② Cover with matching patches (lap ≥ 30 cm); ③ Secure via continuous overlock sewing or tight welding; ④ Reinspect for firmness and qualified tensile strength.
Q6: What weather is unsuitable for geotextile installation?
A6: ① Temperature < 5℃ (impairs splicing quality); ② Wind > 4 levels (causes uneven laying/displacement); ③ Rain/snow (wet foundations, safety/quality risks); ④ Extreme sun (requires protection to avoid UV aging).
7. Conclusion
The core of geotextile construction lies in standardization, meticulousness, and adaptation. Every stage—from early selection and material preparation to step-by-step construction, scenario adaptation, and later maintenance—directly affects engineering quality and geotextile performance.
References
- National Standard: GB/T 17639-2023 Geotextiles – Specifies material properties, quality requirements, and testing methods as the core standard for domestic geotextile construction.
- Industry Specification: GB/T 50290-2014 Code for Application of Geosynthetics – Compiled by China Geosynthetics Engineering Association and Beijing Institute of Water, covering design, construction, and inspection of geosynthetics including geotextiles.
- International Standard: ASTM D4439 Standard Specification for Geotextiles – Developed by ASTM International, applicable for export projects or projects adopting international standards, defining performance indicators and construction specifications.